
Water is something most Florida homeowners rarely think twice about. You turn on the tap, fill a glass, and move on with your day. But what is actually in that water matters more than most people realize, and in Florida specifically, the answer is not always reassuring.
Florida’s water supply faces a distinct set of challenges. The state draws the majority of its freshwater from underground aquifers, which are susceptible to agricultural runoff, naturally occurring minerals, and bacterial contamination. Add aging infrastructure in older homes and the presence of private wells in rural counties, and you have a situation where routine water quality testing is not just cautious, it is genuinely necessary.
This guide walks you through five practical steps to test the water in your Florida home and understand what the results mean.
Why Florida Homeowners Need to Pay Attention
Contaminated water does not announce itself. It has no reliable smell, color, or taste that signals a problem. Lead, bacteria, nitrates, and pesticide residue can all be present in concentrations that cause harm without any visible indication.
In Florida, specific concerns include naturally high levels of sulfur and minerals in groundwater, agricultural pesticide and fertilizer runoff into aquifers, lead leaching from pipes and fixtures in homes built before 1986, bacterial contamination in private wells, and elevated chlorine or disinfection byproducts in municipal supplies.
The health consequences of prolonged exposure range from gastrointestinal illness to developmental problems in children, kidney damage in adults, and in cases of long-term contamination, more serious conditions. Testing is the only way to know what you are actually dealing with.
Step 1: Identify Your Water Source
Before selecting a test or collecting a sample, you need to know where your water comes from. This determines what contaminants are most likely present and which type of testing is appropriate.
Most Florida residents receive water from municipal systems supplied by the Floridan Aquifer System, one of the most productive aquifer systems in the world. However, according to the University of Florida’s Institute of Food and Agricultural Sciences, roughly 12 percent of Floridians rely on private wells. Well water is not regulated by the EPA the way municipal water is, which places the full responsibility for testing and safety on the homeowner.
If you are on a municipal system, your utility provider is required to publish an annual water quality report, called a Consumer Confidence Report. Reviewing that report is a useful starting point, but it reflects the water quality at the treatment plant, not necessarily at your tap after it has traveled through your home’s pipes.
Step 2: Choose the Right Testing Kit
Once you know your source, select a testing kit that matches your actual needs. Not all kits test for the same things, and buying the wrong one gives you incomplete information.
A basic test kit covers pH, hardness, and common contaminants. This is a reasonable starting point for municipal water users who have no specific concerns beyond general water quality.
A comprehensive test kit screens for a broader range of substances including heavy metals like lead, nitrates, chlorine byproducts, and pesticide residues. For Florida homeowners, particularly those near agricultural areas in counties like Polk, Hendry, or Okeechobee, this level of testing provides a more complete picture.
A bacteria-specific kit tests for the presence of coliform bacteria and E. coli. This is essential for anyone on well water and recommended after any flooding event, which is not an uncommon occurrence in Florida during hurricane season.
When purchasing a kit, look for one certified by the NSF International or the Water Quality Association. Read verified reviews before buying, and follow the included instructions precisely. Small errors in the testing process can produce inaccurate results.
Step 3: Collect Your Samples Correctly
How you collect the sample affects the accuracy of every test that follows. Use only clean, sterile containers, and avoid touching the inside of the container or the lid at any point during collection.
For tap water, let the water run for 30 to 60 seconds before collecting the sample. This clears standing water from the pipes, which can skew results.
For well water, collect the sample directly from the pump outlet before any filtration or treatment systems. This gives you an accurate reading of what the well itself is producing.
Label every container clearly with the date, time, and collection location. If you are testing multiple taps or sources within the same home, keep the samples separate and labeled accordingly. If you cannot run the tests immediately, store containers in a cool, dark location and conduct the tests as soon as possible. Delays can affect bacteria tests in particular.
Step 4: Conduct the Tests
Follow the instructions included with your specific kit precisely. General procedures for common tests include the following:
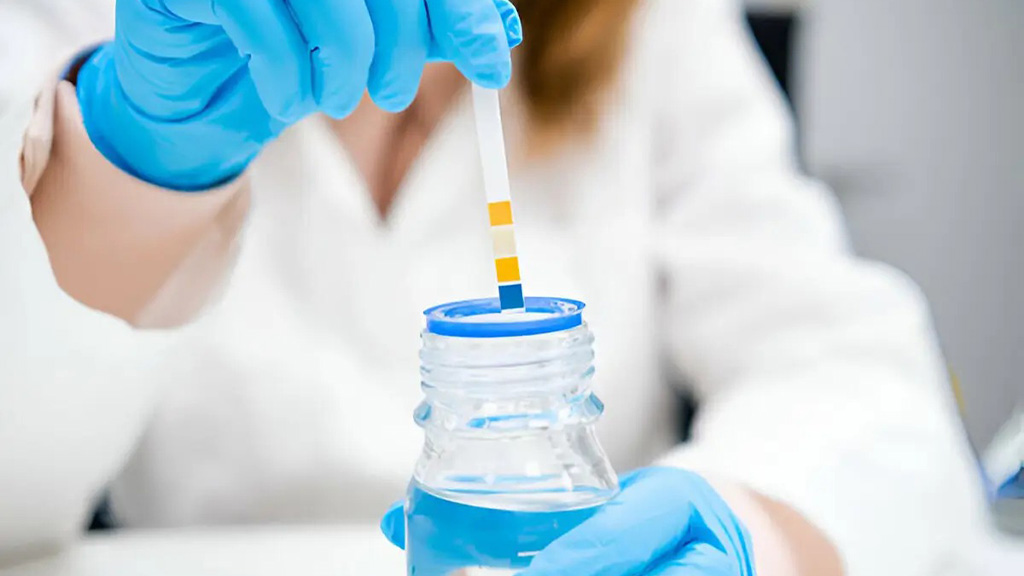
For a pH test, submerge the test strip in the sample for the recommended number of seconds, then compare the resulting color against the chart provided. Florida groundwater tends to be slightly alkaline due to its limestone geology, so readings above 7 are common and not necessarily a concern on their own.
For a chlorine test, add the recommended number of reagent drops to a measured water sample in the provided vial, shake gently, and compare the color result to the reference chart. Municipal water in Florida is routinely treated with chlorine or chloramine, and while some level is expected, elevated concentrations warrant follow-up.
For bacteria tests, follow the incubation instructions carefully. These tests require more time than chemical strip tests and must be conducted under controlled conditions to produce reliable results.
Step 5: Interpret Results and Take Action
Once your tests are complete, compare your results against the standards set by the EPA and the Florida Department of Environmental Protection. These standards define what is considered safe for human consumption and at what concentrations specific contaminants become a health concern.
If your results fall within acceptable ranges, document them and schedule your next round of testing. Annual testing is recommended for well water users in Florida, and testing after any major storm or flooding event is advisable regardless of your water source.
If your results show elevated levels of any contaminant, do not delay. Contact a licensed water quality professional to conduct laboratory-grade testing, which provides a more precise analysis than home kits. From there, remediation options range from point-of-use filtration to whole-home treatment systems depending on what the testing reveals.
When Home Testing Is Not Enough
DIY kits are a useful first step, but they have limitations. They cannot detect every possible contaminant, and improper technique can produce false readings. For a thorough, laboratory-verified assessment of your home’s water quality, professional testing is the right call.
Pro-Spect provides professional water quality testing throughout Florida. Our team understands the specific contamination risks Florida homeowners face, and we deliver accurate, detailed results along with clear guidance on what to do if a problem is found.
Contact Pro-Spect today to schedule your water quality inspection and get a complete picture of what is coming out of your taps.